Last updated: October 22, 2026
Quick answer: the right lunchbox is the one that fits your food, your bag, and your routine, and this guide gives you the measurements and checks to confirm that fit. In Lunchbox design and fit — The Complete Guide, the goal is simple: stop leaks, stop squashing sandwiches, and stop carrying dead weight by 2 p.m.
A lunchbox fits when the shape inside matches the food you actually pack, the bag you carry it in, and the way you open it at school, work, or on the move. Get those three things right, and the box stops leaking, squashing sandwiches, and becoming dead weight by 2 p.m.
What a lunchbox has to fit, exactly
A lunchbox has to fit the meal, the bag, and the person using it. That sounds obvious, but most bad buys fail because one of those three is ignored.
Think in three dimensions. First, the food itself: a sandwich needs flat clearance, not just floor space. Fruit, yogurt, soup, and chopped leftovers need depth and a lid that seals without pressing into the contents. Second, the carrier: a lunchbox that is 24 cm wide may be fine on a counter and useless in a narrow tote. Third, the hand opening it: a child with small fingers and a zipper track that catches every time is not a “minor annoyance,” it is a design failure. Therefore, the topic of Lunchbox design and fit — The Complete Guide starts with the container’s usable shape, not its marketing label.
The key here is the usable interior, not the outside shell. A box advertised as “large” can still have a thick wall that cuts down real capacity. The difference between correct and incorrect fit is usually visible: the correct lunchbox closes without compressing bread, while the wrong one bulges, bows the lid, or leaves food rattling around. A good fit also leaves some headroom for a reusable ice pack or a napkin without forcing the lid. In practice, that headroom is often about 1 cm above the tallest item.
A practical way to judge fit is to map the meal first:
| Food you pack most often | Minimum shape feature needed | Common failure mode |
|---|---|---|
| Sandwich or wrap | Flat base, lid height that clears 4–6 cm of stacked food | Bread flattened or fillings smeared |
| Pasta, rice, curry | Leak-resistant seal, deeper main compartment | Sauce escapes into the bag |
| Fruit and snacks | Dividers or separate cups | Flavors mix, bananas bruise |
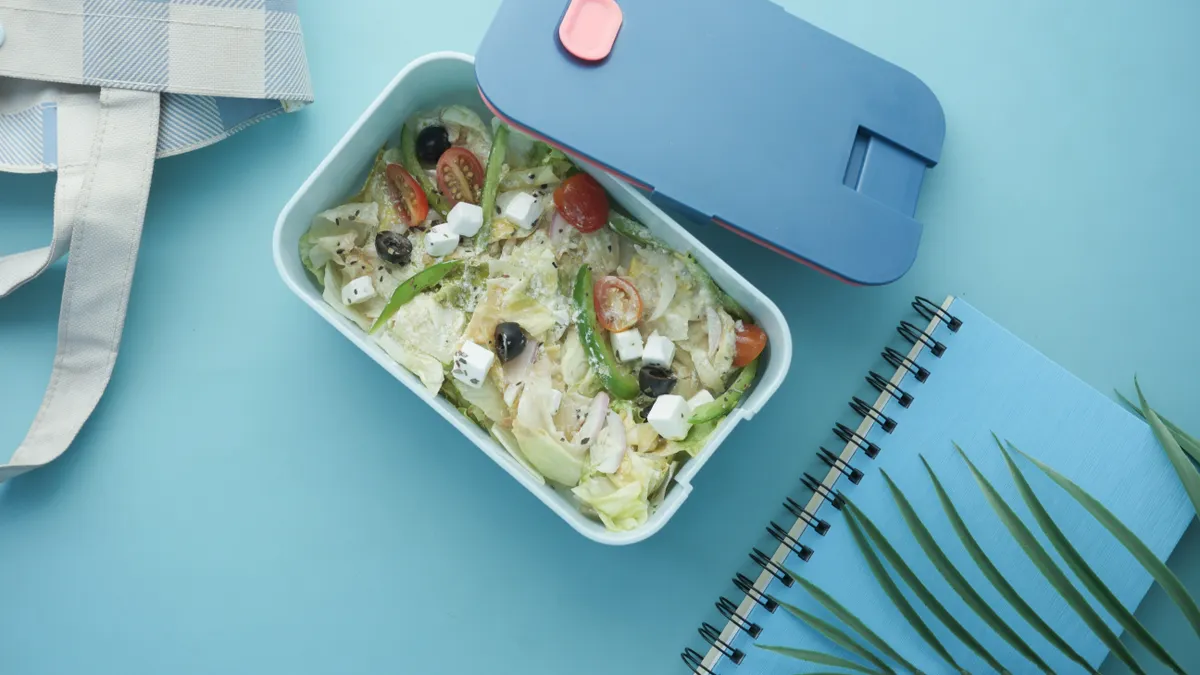
| Salad | Taller side wall, room for dressing cup | Leaves get crushed or wilted |
If the lunchbox cannot match your usual meal in a dry run, it is the wrong size even if the label says “family,” “bento,” or “large.” Specifically, a 24 cm-wide shell still fails if the interior narrows too much for the food you pack.
How do you measure lunchbox size so it actually fits?

You measure lunchbox size by checking internal dimensions, usable height, and the bag space it has to live in. External dimensions alone are not enough, because walls, seals, hinges, and rounded corners all reduce what you can actually use.
Start with the food, not the product listing. A standard sandwich slice is usually around 11 to 12 cm square before it is cut or stacked, so a lunchbox that narrows at the base can fail even if the outside length looks generous. For soup or yogurt, depth matters more than footprint. For a school bag, you also need to know whether the lunchbox can slide in upright or only on its side. Since a packed box changes shape demands, measure the meal you use most often first.
Use this process before buying or rearranging what you own:
- Measure the food you pack most often. Check length, width, and height with a ruler or tape measure. Check: the tallest item, not the flattest one. Do not: size the box only for a single cookie or apple.
- Measure the lunch bag or backpack pocket. Note the opening width as well as the internal width. Check: zipper clearance and gusset depth. Do not: trust the bag’s listed “fits up to” claim without measuring.
- Measure the lunchbox at its narrowest inside point. Many lids taper. Check: the real width at the bottom and near the top. Do not: use the outer rim as the usable width.
- Allow clearance for the lid and seal. Add at least 1 cm above the tallest food item if you want the lid to close cleanly. Check: whether the lid touches the food before latching. Do not: force a snap-close lid shut over a stuffed container.
- Test the carry orientation. See whether the box fits upright, on edge, or flat. Check: how it sits beside a water bottle or ice pack. Do not: assume every lunchbox is meant to ride upright.
- Account for real-use extras. Napkin, fork, sauce cup, ice pack, and fruit all need space. Check: the full packed load, not just the food. Do not: leave zero slack and then blame the lid when it pops open.
A useful size rule is simple: the lunchbox should hold your standard meal without compressing it and still close with one hand. If that requires two hands and a hard push, it is too small for that meal, even if the volume looks generous on paper.
Which lunchbox shape works for which meal?
The right shape depends on whether the food needs flat support, vertical depth, or compartments. Round containers, rectangle boxes, and bento trays each solve a different problem, and each creates a different annoyance when used for the wrong meal.
Rectangle lunchboxes are the easiest for sandwiches, sliced fruit, and stacked leftovers. They waste less space in backpacks and are easier to line up in a fridge shelf. Round boxes are better for soup, stews, yogurt, and foods you scoop rather than stack. Bento-style boxes work well when you want to keep cucumber from touching crackers or rice from soaking up dressing before lunch. The trade-off is that bento compartments can steal volume from the main section, which matters if you need one big lunch rather than several small ones. Therefore, shape choice is one of the fastest ways to make Lunchbox design and fit work in real life.
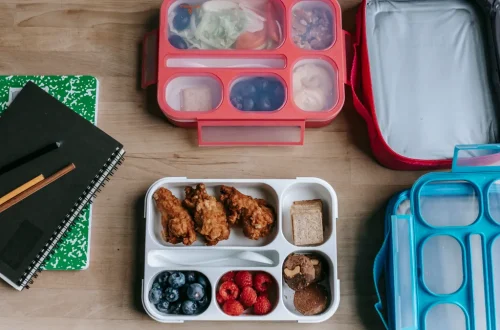
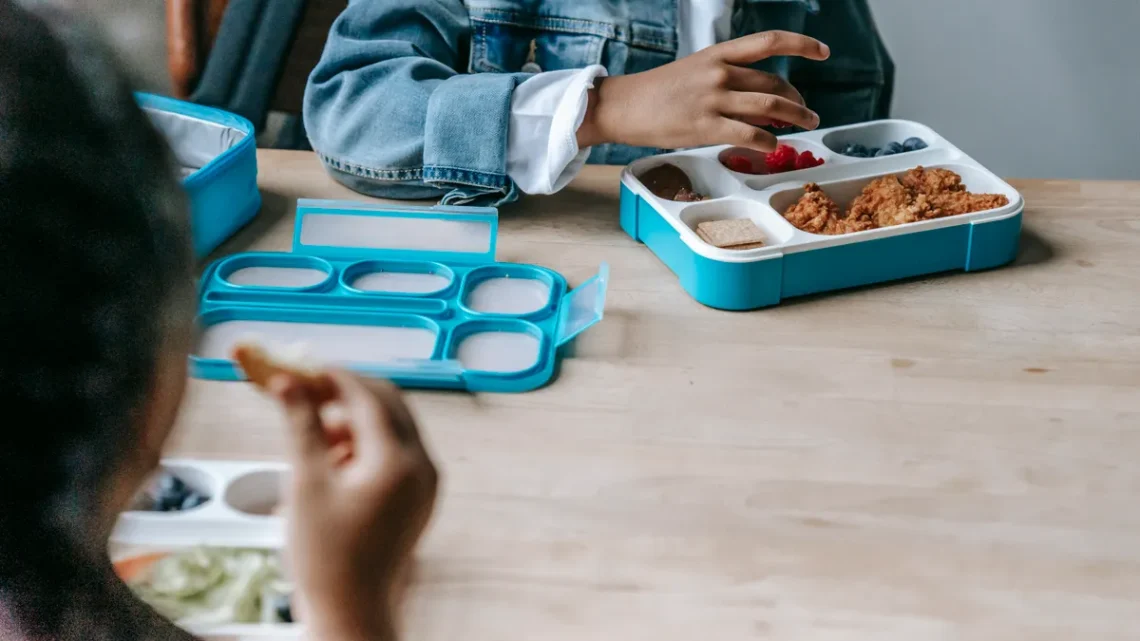
The key visual clue is how the food sits inside the box. In a good rectangle box, the sandwich rests flat with no visible corner crushing. In a good round box, liquids spread evenly without climbing the seam. In a good bento box, partitions stay high enough that one compartment does not leak into another when the box tilts slightly.
Here is a practical comparison:
| Shape | Best for | Design strength | Design weakness |
|---|---|---|---|
| Rectangle | Sandwiches, leftovers, meal prep | Packs efficiently in bags and fridges | Corners can crush soft food if too shallow |
| Square | Balanced mixed meals | Good compromise between footprint and volume | Can be awkward in narrow bag pockets |
| Round | Soups, yogurt, stews | Easy stirring and scooping | Wastes corner space in bags |
| Bento / compartmented | Variety meals, portion control | Keeps textures separate | Less usable volume in each compartment |
| Tall cylindrical | Smoothies, oats, chili | Handles depth well | Poor fit for flat foods |
The wrong shape usually announces itself in two minutes. If the lid presses down on bread or the compartments are so small that each one needs careful portioning, the shape is fighting the meal instead of supporting it. In that case, the box may still be usable, but it is not well matched.
What makes a lunchbox easy to open, clean, and trust?
A lunchbox is easy to use when the closure, seal, and interior finish all work without fuss. A beautiful box that is hard to open with cold fingers, stains after one tomato-based lunch, or traps odor in the gasket is not a good lunchbox.
Look closely at the closure first. Snap locks are quick, but they can break or weaken if the hinge flexes too much. Screw lids seal well for liquids, but they slow down the lunchline. Zippers are convenient on insulated bags, though they are not the same thing as a leakproof seal. Silicone gaskets help with spills, but they also need cleaning because a trapped crumb can stop the lid from sitting flat. Because closure quality varies so much, it is worth checking the maker’s guidance before assuming the part will hold up.
Use this process when inspecting a box in person or comparing models:
- Open and close the lid with one hand. Test the motion you will actually use in a classroom, office, or car. Check: smooth engagement and a clear lock feel. Do not: buy a box that needs both hands for every opening unless you want that routine every day.
- Inspect the seal path. Look for a continuous gasket or a clean mating edge. Check: whether the seal line is even all the way around. Do not: assume “airtight” means “easy to clean.”
- Check the interior corners. Rounded corners are easier to wash than sharp seams. Check: whether sauce can hide in folds or channels. Do not: choose decorative ridges that collect food.
- Look for dishwasher-safe labeling from the manufacturer. If it is not clearly stated, hand washing may be the safer assumption, and a quick look at manufacturer care guidance or consumer safety guidance can help. Check: the care instructions for the lid and gasket separately. Do not: treat all plastic parts as equally heat-tolerant.
- Assess stain-prone surfaces. Clear plastic and light interiors show residue fast. Check: whether you can see leftover oil or pigment after rinsing. Do not: rely on “rinse-only” cleaning for tomato sauce, curry, or beet.
- Test for odor control over time. Materials vary in how much smell they retain. Check: whether the container has removable seals or vents. Do not: store damp lunchboxes closed in a dark bag.
For trust, the standard is simple: if the lid feels uncertain when you press down lightly, it will not become more reliable inside a backpack. A lunchbox that leaks once is not merely inconvenient; it changes what you are willing to pack in it.
Which materials are worth it, and which ones are not?
The best material choice depends on the food, the weight limit, and the cleaning routine. Stainless steel, hard plastic, glass, and silicone each have a clear job, and each has a clear limit.
Stainless steel is durable, does not stain easily, and often works well for dry food or dry-to-moist meals. It is less friendly to microwave use unless the maker specifically says otherwise, which many do not. Hard plastic is light and inexpensive, and it is common in school lunchboxes and bento trays. Its weakness is staining, scratching, and wear around hinges and latches. Glass gives a clean food view and resists stains, but it is heavy and fragile, so it fits home or office use better than commuting. Silicone folds or bends in useful ways, especially in collapsible designs, but it can feel floppy and is not always ideal for crisp structure. In other words, the material should fit the use case, not just the shelf display.
The key detail is whether the material supports the meal without becoming the problem. A stainless-steel box that dents easily is a bad match for a child’s backpack. A glass container in a crowded train bag is a risk. A soft silicone container that collapses when full is awkward for salad or layered food.
| Material | Best use | Main advantage | Main drawback |
|---|---|---|---|
| Stainless steel | Dry meals, durable carry | Long life, stain resistance | Usually not microwave-safe |
| Hard plastic | Everyday packed lunches | Light and affordable | Scratches and stains faster |
| Glass | Office or home meals | Easy to inspect and clean | Heavy, breakable |
| Silicone | Collapsible storage, flexible packing | Saves space when empty | Less rigid and can feel unstable |
If you are choosing for a child, commuter, or gym bag, weight matters more than most marketing copy admits. If you are choosing for reheating at work, check whether the material is microwave-safe before you buy, and follow the maker’s guidance rather than guessing. For a broader check, the FDA’s food-contact information and NSF’s food equipment standards are both useful references.
How should insulation and ice packs fit together?
Insulation works only when the lunchbox, ice pack, and food touch the same thermal plan. A thick insulated shell that cannot hold an ice pack beside the meal is less useful than a simpler box with a better internal layout.
Insulated lunch bags and lunchboxes are often sold as if insulation alone solves food safety, but the arrangement matters more than the label. A flat ice pack should sit against the side or top of the meal, not loose in the bag where it chills the zipper and misses the food. Cold foods need contact with cooling surfaces; warm foods need heat retention and minimal opening time. If the lunchbox has too much empty air, the cold or heat spreads poorly. That is why Lunchbox design and fit should always be judged as a system, not as a shell.
The figure to watch is the fit around the cold source. Many reusable ice packs are sized to sit under or beside a standard container, but if the lunchbox is too deep, the pack ends up buried under a layer of air or stacked so it bends the lid. That is the wrong geometry. A 1 cm gap can matter when you want the pack to sit flat.
A good insulated setup looks like this:
- food container sized with minimal headspace
- one slim ice pack placed directly against the container
- no loose voids that let the box slide around
- zipper or lid closing without squeezing the pack into the meal
A poor setup looks like this:
- oversized lunchbox with a single sandwich floating inside
- ice pack rattling separately
- condensation pooling at the bottom
- lid bowed by the cold pack
For school or office use, a lunchbox that fits a standard slim ice pack and still closes cleanly is usually more useful than a heavily insulated shell with poor internal geometry. If the lunchbox and the cooling piece do not fit together, the insulation rating is just decoration.
What should the final lunchbox choice look like in real life?
The final lunchbox choice should look boring in the best way: the lid closes easily, the food stays put, and the box disappears into the routine. That is the real sign of good design and fit.
If the box is right, it does three things every day without demanding attention. It accepts the meal without compression. It enters the bag without a fight. It opens later without a leak, split seal, or mystery odor. If it fails on any one of those, the design is wrong for your use case.
Here is the simplest decision guide:
- Pick the meal first. Decide whether you mostly pack sandwiches, leftovers, salads, or liquids. Check: the food’s height, wetness, and need for separation. Do not: buy a box for a meal you rarely eat.
- Match the shape to the meal. Choose flat, tall, round, or compartmented based on the food. Check: whether the contents sit naturally inside. Do not: force a compartmented box to behave like a soup container.
- Match the size to the bag. Verify the lunchbox fits your bag with room for a bottle or pack. Check: opening width and internal clearance. Do not: assume the lunchbox will compress to fit.
- Choose the closure for the mess level. Dry foods tolerate simpler lids; wet foods need stronger seals. Check: latch feel and seal continuity. Do not: use a decorative lid for soup.
- Choose the material for the routine. Weight, microwave use, and wash time matter. Check: whether the box matches your cleaning setup. Do not: pick the heaviest option if the box travels daily.
- Test the full packing system. Box, ice pack, utensils, and napkin should all fit together. Check: the packed load, not just the empty box. Do not: leave the system half-designed and hope it works later.
A good lunchbox is not the one with the most features. It is the one that fits the food, the bag, and the day without causing friction. That is the standard worth keeping.
What are the common lunchbox fit mistakes?
The most common lunchbox fit mistake is buying for capacity instead of shape. A box can be “big enough” on paper and still fail because its corners, lid height, or compartment layout do not match the meal.
Another common error is ignoring how the lunchbox is carried. A container that works in a car console may fail in a backpack pocket because the opening is too narrow or the lid catches. A heavy glass box may seem elegant on a kitchen counter and become a nuisance in a 20-minute walk. Because the carrying context changes the fit, Lunchbox design and fit has to account for the bag as much as the container.
One more mistake is treating leakproof and insulated as interchangeable. They are not. Leakproof means liquid stays in. Insulated means temperature changes more slowly. A lunchbox can do one and not the other, and many do both only imperfectly. When the product page blurs those terms, check the details before you buy.
The practical warning signs are easy to spot:
- lid bulges after closing
- food slides sideways in transit
- bread is flattened at one end
- sauce collects in the corner nearest the hinge
- ice pack has no direct contact with the meal
- the box fits empty but not when fully packed
For parents, commuters, and meal-preppers, the wrong lunchbox usually becomes obvious within a week. For that reason, the better question is not “What is the best lunchbox?” It is “What exact meal am I trying to fit, in what bag, under what routine?” That answer points to the right design faster than any label on the shelf.
Which standards and safety details matter before you buy?
The safety details that matter are food-contact materials, temperature limits, and the manufacturer’s care guidance. Those three things decide whether the lunchbox suits the food you plan to put in it and whether it will hold up to washing, reheating, or daily carrying.
For food-contact surfaces, look for clear information from the maker about what materials are used and how they should be cleaned. If a lunchbox is meant for the microwave, the product should state that plainly. If it is not, do not guess. For broader material guidance, the U.S. Food and Drug Administration has consumer information on food-contact substances, and NSF International publishes standards and certification programs for food equipment and related products; both are useful references when a product description feels vague. Consumer-facing safety pages from those organizations are especially useful when a label does not explain the limits clearly.
The key detail is not a badge alone, but the match between the badge and your routine. A certification is useful if the lunchbox will actually be used in the way the certification covers. A beautifully sealed stainless-steel box is not helpful if your lunch depends on microwave reheating. A microwave-safe plastic box is not helpful if it leaks soup into a laptop bag. For that reason, design fit and safety fit should be checked together.
Use this final check before buying:
- confirm whether the main container, lid, gasket, and any inserts can all handle the same washing routine
- confirm whether the box is intended for microwave, freezer, or dishwasher use
- confirm whether the closure still works after repeated opening and closing
- confirm that the shape supports the food you eat most often, not the food pictured on the box
When the product page is vague, that vagueness is itself a warning sign. Good lunchbox design is specific, and so is good fit. If the maker cannot say what the box is for, the box probably does not know either.
Key takeaways
- Fit is about three things at once: the meal, the bag, and the person opening the box.
- Internal space matters more than outer dimensions, especially for sandwiches and stacked food.
- Shape should follow food: flat boxes for sandwiches, deeper boxes for liquids, compartments for mixed meals.
- Closures and seals need to match the mess level; a soup container and a dry snack box are not the same design problem.
- Materials trade weight, durability, microwave use, and cleaning ease in different ways.
- Insulation only works when the ice pack and container are arranged together, not just placed in the same bag.
- A good lunchbox disappears into the routine; a bad one keeps announcing itself with leaks, bulges, and annoyance.
Drafted with AI; not yet reviewed by a person.