Last updated: October 20, 2026
Quick Answer: The right lunchbox is the one that fits your kid’s usual food containers with a little spare room. If the largest item is a thermos or sandwich container, measure that first and buy for its outside dimensions, not the box label.
A lunchbox is the right size only if it fits the food your kid actually eats, with the containers, thermos, and snack cup you plan to pack. In this guide to how to measure a lunchbox for the food your kid actually eats, start with the food, then the package, then the lunchbox size fit.
Key takeaways
- Measure the lunchbox for the container shapes you use, not for a child’s age or grade.
- Start with the biggest item first, usually a sandwich container or thermos, then fit the smaller pieces around it.
- Check both inside dimensions and usable height; tall lids, hinges, and rounded corners reduce space.
- Leave a little spare room for an ice pack, a napkin, or a day when the sandwich comes in a harder container.
- A lunchbox can be “big enough” on paper and still fail if it will not close once a thermos or snack cup is inside.
What to measure first in a lunchbox size fit
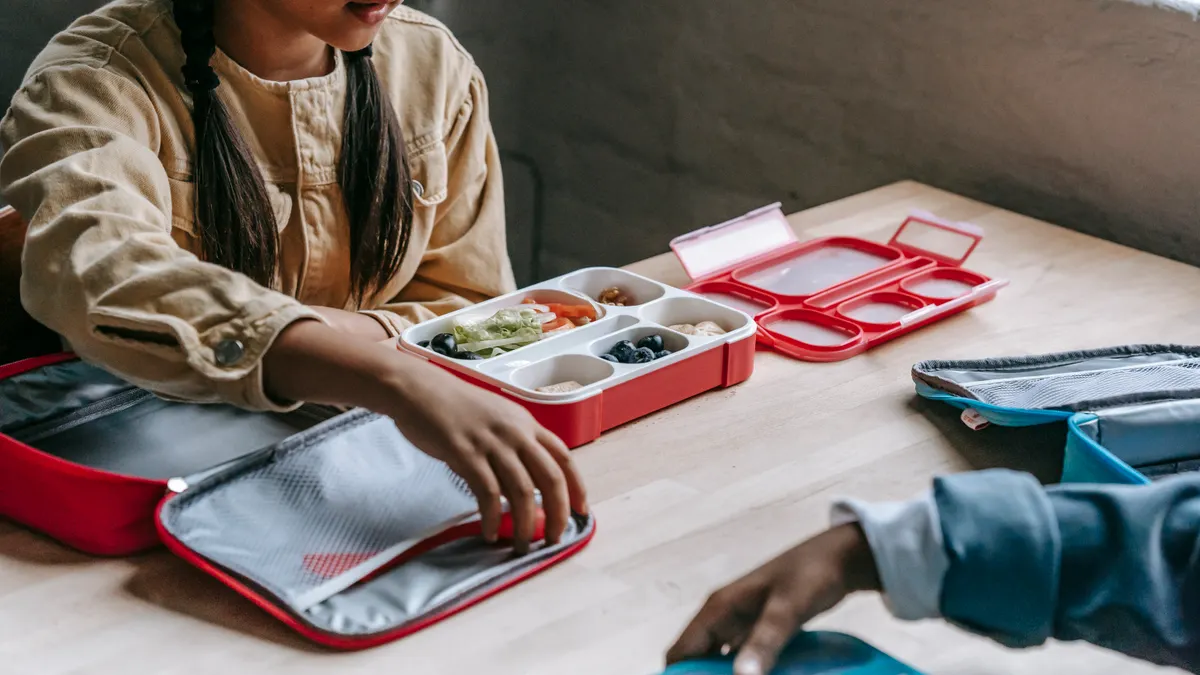
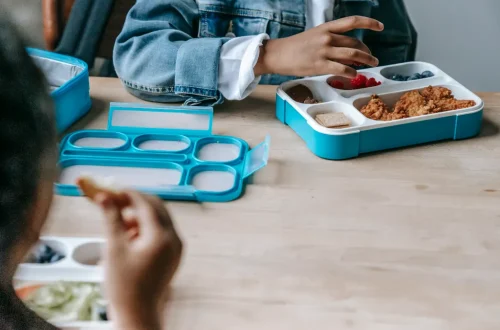
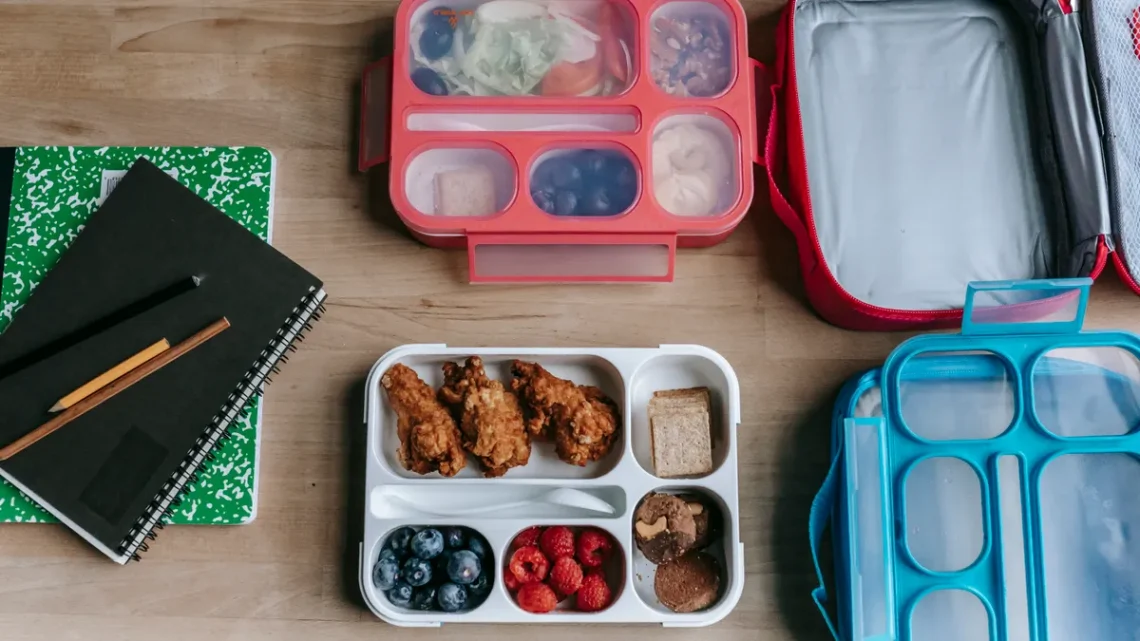
Measure the food container first, because the lunchbox must fit the shape your kid will actually use. If the sandwich goes in a rigid container, or the thermos has a tall cap, those pieces control the size more than the lunch itself.
Start with the largest item from a normal school lunch. For many kids that is one of these:
- a sandwich container
- a thermos for hot food or pasta
- a snack cup for cut fruit, crackers, or yogurt
- a small leak-resistant container for dip or dressing
Write down three things for each item: length, width, and height. Use the outside dimensions, not the inside volume on the package. A container labeled “24 oz” may be short and wide, while another with the same capacity may be tall and narrow. Lunchbox size fit depends on shape, not just capacity.
If you pack a sandwich flat, measure the sandwich container or the sandwich bag it needs. A standard sliced-bread sandwich is usually easiest to place in a lunchbox when laid flat. If your child eats a halved sandwich, a stacked wrap, or a thick bagel, the needed height changes fast. The same is true for bento-style portions that use several compartments.
The lunchbox should also allow a little movement without crushing the food. If the container fits only when pressed against the side walls, the zipper or latch may strain, and the food may get squashed. A lunchbox is wrong for this job if you have to bend a thermos lid, tilt a snack cup, or jam a sandwich container in diagonally just to make it close.
How to measure the lunchbox itself, step by step
Measure the inside space of the lunchbox in the same way you would fit a box for shipping: length, width, height, then usable shape. The result you want is a lunchbox that closes with the food inside and still leaves a small pocket for real-life packing.
-
Empty the lunchbox and measure the inside floor.
Use a ruler or tape measure and note the interior length and width at the bottom, where the container will sit. A result that works looks like a clear rectangle or oval you can picture on paper. Do not use the outside dimensions from the product label; handles, insulation, and padding can make those misleading. -
Measure the usable height from base to lid closure.
Measure from the bottom to the point where the lid or zipper actually starts to press down on the food. This matters more than the total outside height. A lunchbox can look deep enough but fail because the lid dome is shallow or the top panel slopes inward. -
Find the biggest item and place its footprint on the floor measurement.
Put the sandwich container or thermos dimensions against the length and width you wrote down. The right result is a fit with some margin, not a forced fit. If the largest item only fits by turning sideways, the rest of the lunch may not fit around it. -
Add the smaller pieces around the main item.
Measure room for a snack cup, ice pack, or fruit container beside or above the main container. This is where compartment sizing matters. A lunchbox with one long compartment may waste space if your food pack is made of several short containers; a divided box may be useless if the thermos needs one tall open lane. -
Close the lunchbox with everything inside before you commit to it.
Close it with the zipper or latch, then check for bulging, pressure on the lid, and crushed corners. The lunchbox size fit is right when it closes without forcing, and the food containers stay level. If you need to sit on the lid or press hard to zip it, the lunchbox is too small for that meal setup.
This method is why a lunchbox size for kids food should be measured against the meal plan, not the child’s age. A preschool lunch might need less food, but a toddler thermos can still take up more room than an older child’s sandwich. The container decides the space.
Why compartment sizing changes everything
Compartment sizing decides whether the lunchbox holds one efficient stack or a bunch of awkward leftovers. A box with fixed sections can be great for dry foods and fruit, but it can waste space if your kid eats one large container and two small ones.
A single large compartment gives you flexibility. You can fit a 7-inch sandwich container next to a 12-ounce thermos, or arrange a main container plus a flat ice pack. The trade-off is that food can shift unless you pack it tightly or use a divider.
Divided lunchboxes work best when the meal is naturally portioned into small parts. Think crackers in one space, grapes in another, and cheese sticks in a third. The problem is that each compartment has a fixed shape. If one section is 1.5 inches deep and the snack cup is 2 inches tall, the fit fails even though the lunchbox looks spacious overall.
The safest practical way to judge compartment sizing is to map the food into sections before you buy. Sketch the lunch as a simple list:
- sandwich or wrap: one section
- fruit or veg: one section
- dip or yogurt: one small cup
- main hot food: one thermos lane
Then compare each item to a compartment’s inside dimensions. A lunchbox with three compartments is not automatically better than one with one open chamber. It is only better if those compartments match the food.
One common mistake is counting compartments by number instead of by shape. Three tiny sections can be worse than two useful ones if your child needs a rectangle for a sandwich and a cylinder for a thermos. If the lunchbox forces you to cut food into odd shapes just to make it fit, it is working against the meal.
How to check thermos space without guessing
Check thermos space by measuring the thermos with its lid on and then comparing that full height to the lunchbox’s usable height. A thermos often fails fit checks because the body fits but the cap, spoon lid, or extra clearance does not.
Measure the thermos from base to the top of the closed lid, not just the insulated body. Many parents stop at the metal cylinder and forget the extra height added by the closure. If the lunchbox lid presses directly on the thermos cap, the closure may pop loose or the container may tilt.
A thermos also needs width room. If it sits in a narrow lunchbox, the curve of the side wall may eat into the usable floor space. This matters when the lunchbox is made for flat lunch containers rather than round ones. A thermos that seems to fit in a picture can take up the space of two snack cups in real life.
A good thermos fit has three signs:
- it stands upright without leaning
- the lid closes without pressing on the cap
- there is still room for at least one small side item, such as a fruit cup or spoon
If the thermos has to lie on its side, that changes the whole lunchbox size fit question. Some food is fine that way, but not every hot meal should be transported horizontally. Hot soup, for example, belongs in a container made for that use, and the lunchbox should hold it upright.
This is where a lunchbox for the food your kid actually eats differs from a general “kid lunch bag.” A bag can look roomy and still be wrong if the thermos is tall, the sandwich is boxed, and the snack cup needs a separate corner.
How to plan portion space without overfilling the box
Plan portion space by packing the amount your kid eats on a normal day, then measure the containers that portion actually needs. A lunchbox should fit the meal your child finishes, not the meal you wish they would eat.
Start with one school lunch and list the exact pieces. For example: half a sandwich in a sandwich container, a handful of grapes in a snack cup, and a thermos with warm pasta. Then measure each container. The lunchbox size fit is the sum of those objects, not the size of the ingredients.
A useful method is to think in layers:
- bottom layer: heavy or tall item, often the thermos
- middle layer: sandwich container or main box
- side space: fruit, yogurt, dip, or utensil
- top space: napkin, ice pack, or folded note
That layered plan helps prevent overbuying a lunchbox that is large in one dimension but useless in another. A very deep box may hold the thermos but fail on width. A very wide box may fit the sandwich but crush the fruit cup under the lid.
The mistake to avoid is choosing a lunchbox by “average capacity” and hoping the food will sort itself out. Capacity labels do not tell you whether a rigid snack cup, a square sandwich container, and a round thermos can coexist in one box. Shape matching matters more than ounces or vague size names.
If the lunchbox is only used for dry snacks, the fit can be looser. If it must hold a thermos or leak-prone food, the fit has to be tighter and more intentional. That is the main trade-off: the more varied the lunch, the more exact the measurement needs to be.
How to test school bag fit before you buy
Test school bag fit by placing the filled lunchbox next to the backpack or school bag it will live in, because a lunchbox that fits the food can still fail in the bag. The right lunchbox size is the one that works in both places.
Measure the lunchbox first, then compare it to the available bag space. A rectangular lunchbox usually packs better than one with a wide handle or rounded corners. A lunchbox with a hard shell may fit the meal well but take up more backpack room than a softer insulated bag.
Look for these signs of a workable bag fit:
- the lunchbox slides in without forcing the zipper
- the bag still closes cleanly
- the lunchbox does not press into books or folders
- the child can lift the bag without dragging weight to one side
If the lunchbox is too bulky, school bag fit becomes the real problem. The lunch may be perfectly measured and still be a daily annoyance if the bag bulges or tips. That is especially true when the lunchbox has a hard sidewall or thick insulation.
The best result is a lunchbox that fits the meal and sits neatly in the backpack with a little extra room. That extra room is not wasted; it keeps the contents from being squeezed. This is also where a lunchbox can be too small for the meal even if the meal technically fits, because a lunchbox with no margin makes packing slow and frustrating.
For broader design choices, the hub on lunchbox design and fit can help connect this sizing work to material, closure, and layout decisions.
Common sizing mistakes that waste space or crush food
The biggest sizing mistake is buying by age, because age says nothing about container shape. A child who eats a compact snack box may need a smaller lunchbox than a child who carries a tall thermos and a square sandwich container.
Another mistake is measuring only the outside of the lunchbox. Outer dimensions include padding, handles, and decorative shells, none of which hold food. That can leave you with a lunchbox that looks generous but has a cramped interior.
A third mistake is forgetting the lid shape. A box with a domed lid may hold taller items, while a flat lid can crush them even when the floor footprint looks right. If the lid bows outward slightly, that does not mean every tall container fits; it only means the box has some extra headroom in the middle, not necessarily at the edges.
The fourth mistake is leaving out the “small stuff.” A lunchbox that fits a sandwich container exactly can fail once you add a spoon, ice pack, or napkin. That is why a little extra room matters. It gives you flexibility on days when the meal changes.
One more honest limitation: this method is less useful if the school lunch must change daily and the containers vary a lot. If one day is a thermos, the next is a wrap, and the third is several loose snacks, a single perfectly sized lunchbox may not exist. In that case, choose a slightly more flexible shape rather than chasing one exact measurement.
How do I know what size lunchbox to buy?
Measure the biggest food container you pack most often, then choose a lunchbox with inside dimensions that fit it with a little room left over. The right size is the one that closes comfortably with the sandwich container, thermos, or snack cup inside. If you are choosing between two sizes, the slightly roomier one is usually safer for real school lunches.
Will a thermos fit in the lunchbox?
A thermos will fit only if its full height, including the lid, is less than the lunchbox’s usable height. The base also needs enough width so the thermos can stand upright without leaning. If the lunchbox is short or narrow, the thermos may take up the entire interior and leave no room for anything else.
How much food should fit in a kids lunchbox?
A kids lunchbox should fit the amount of food your child actually finishes, not a generic portion target. Start with one main item, one fruit or vegetable, and one small side or snack container if that is how the lunch is packed. If the food has to be crushed, squeezed, or stacked awkwardly to close the box, the lunchbox is too small for that meal.
Drafted with AI; not yet reviewed by a person.