Last updated: November 05, 2026
Quick Answer: pack a field trip lunchbox in 3 parts: an insulated lunch bag, a rigid container, and an ice pack. In How to Pack a Kids Lunchbox for a Field Trip or Out-of-Class Day, the aim is plain: keep food cold, compact, and easy to eat after a few hours away from school. A field trip lunchbox should open fast, travel cleanly, and still taste fine after a few hours away from the classroom.
Key Takeaways
- A field trip lunchbox works best with three parts: an insulated bag, a rigid container, and a cold pack.
- Choose foods a child can eat in 5 to 15 minutes without a microwave or much assembly.
- Put the heaviest, coldest, and most leakproof items at the bottom; place first-to-eat items on top.
- No-refrigeration outings require careful packing because the lunch must stay edible without a fridge, cooler, or shelf.
Start with the right field trip lunchbox setup
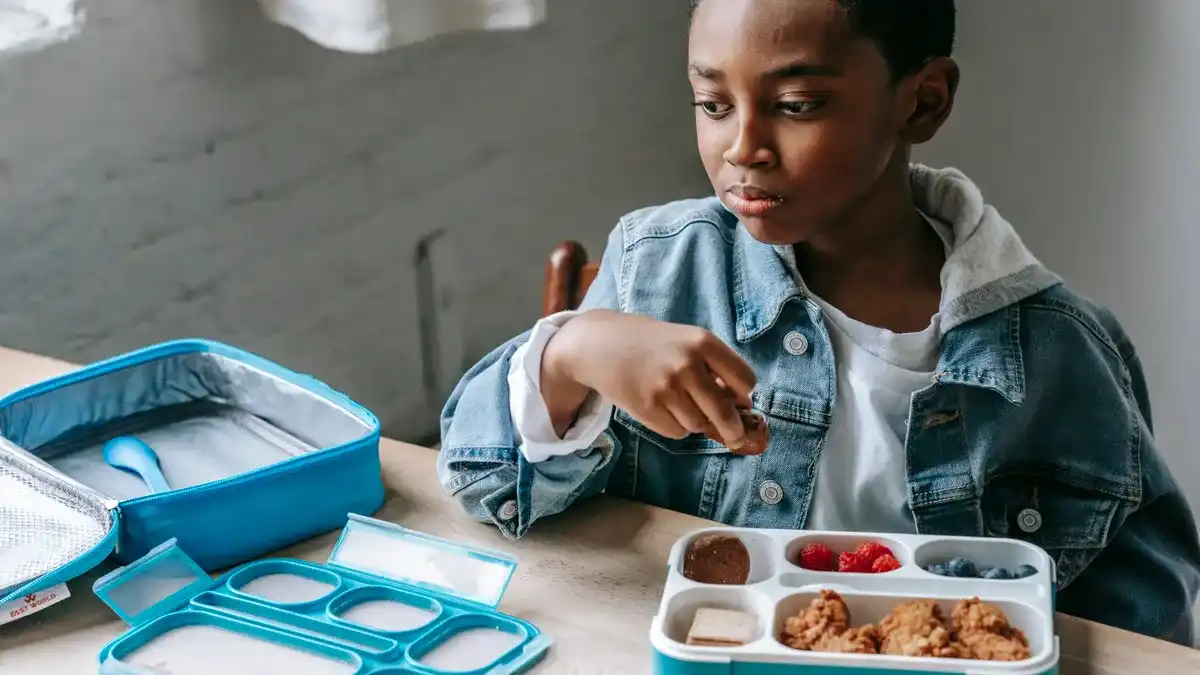
Three pieces make the difference: an insulated lunch bag, a rigid food container, and a cold source such as an ice pack. The brand matters less than the setup. For How to Pack a Kids Lunchbox for a Field Trip or Out-of-Class Day, the point is not a cute lunch; it is food that survives transit, storage, and delayed eating without turning soggy or unsafe.
Start with the outing itself. A soft insulated lunch bag usually fits a backpack better than a hard cooler, and it usually gives enough protection for a half-day or full-school-day trip. If the lunch has yogurt, cheese sticks, turkey sandwiches, hummus, or cut fruit, keep the cold items nearest the ice pack and leave the bag closed until lunch. Shelf-stable food lets you simplify, but a little insulation still helps.
Food safety guidance from the USDA’s Food Safety and Inspection Service and FoodSafety.gov is clear on the basic principle: perishable food should not sit in the temperature danger zone too long. So the lunchbox has to stay cold until the child eats, not just until the bus pulls out of the school parking lot. The National Restaurant Association’s ServSafe materials also emphasize keeping cold foods cold and minimizing time out of temperature control.
This page is the practical companion to the hub on [lunchbox safety and freshness for kids]. For broader safety guidance, see USDA Food Safety and Inspection Service and FoodSafety.gov. I would use that hub for the bigger safety picture and this page for the actual packing order.
What should I pack in a school field trip lunch?
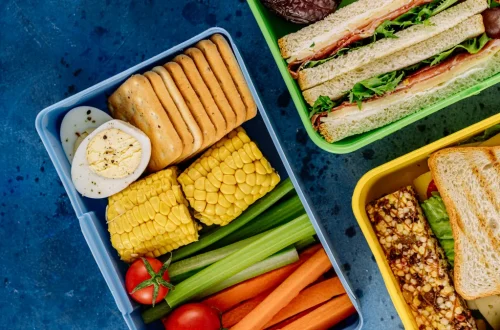
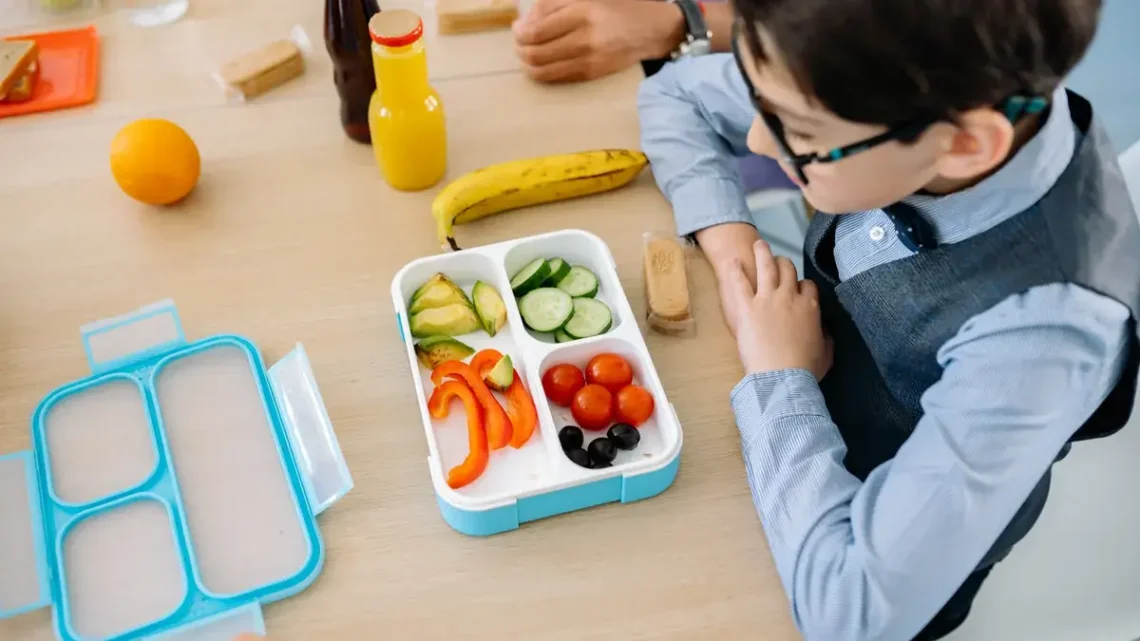
Pack foods that are easy to eat in 5 to 15 minutes, hold up without a microwave, and do not need a lot of assembly. For most children, that means one main item, one fruit, one snack, and one drink. That simple pattern keeps the lunchbox predictable and easier to finish on a bus bench, zoo picnic table, or museum lobby bench.
Usually, the most reliable main item is a sandwich or wrap. Peanut butter and jelly, turkey and cheese, or sunflower butter and banana all travel well if the bread is not overly wet. If the outing is long or physical, a wrap in a tortilla can be less messy than a stacked sandwich. Not every child wants bread, though. Try crackers with cheese, pasta salad in a sealed cup, or a cold rice bowl in a leakproof container.
For fruit, choose options that survive bruising and do not need peeling in awkward places. Apple slices with a little lemon juice, grapes cut lengthwise for younger children, clementines, strawberries, or blueberries all work. Skip very juicy fruit that can soak the rest of the lunch unless it is packed in a separate cup with a tight lid.
Keep snacks straightforward: pretzels, crackers, mini muffins, dry cereal, granola bars, or plain popcorn for older kids. A mixed snack pouch can work, but only if the child can open it independently. A snack that needs three hands and a quiet table is the wrong choice for a museum day.
A water bottle should go in the bag every time unless the school explicitly says not to. A refillable bottle with a screw cap or flip top is easier than a loose drink box. If the trip is outdoors, a bottle that closes tightly matters more than a fancy design.
How do I pack the lunch so it survives the bus ride?
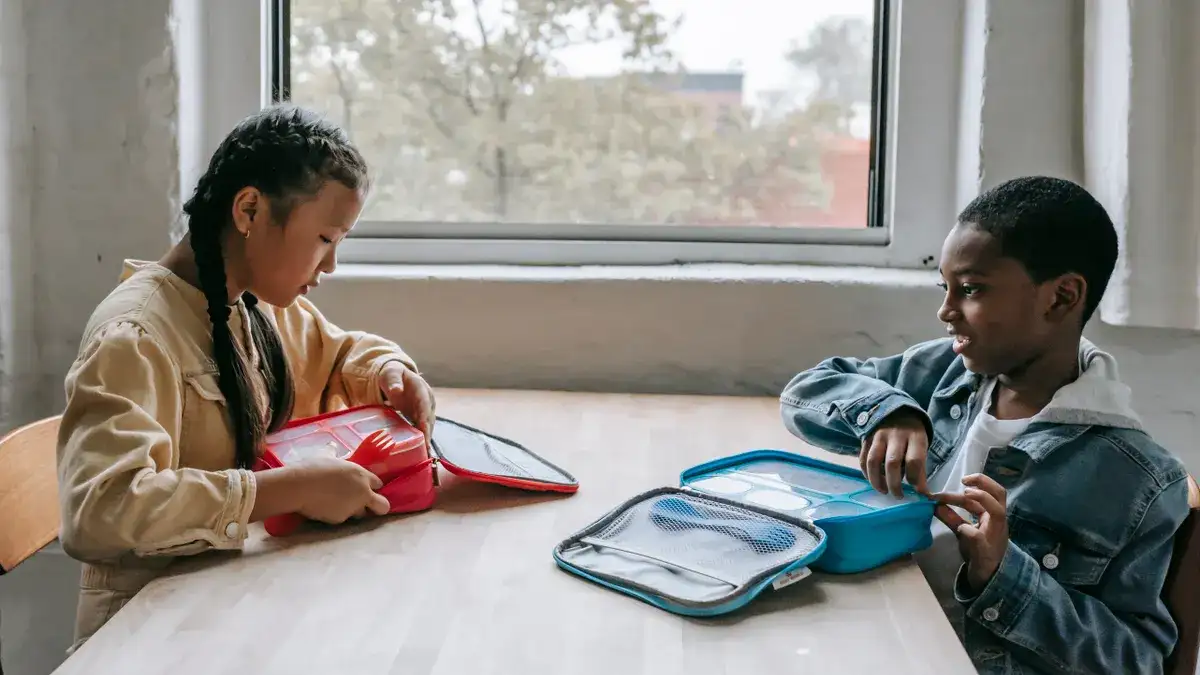
Pack the lunch so the heaviest, coldest, and most leakproof items sit at the bottom and the food the child needs first sits on top. That order keeps the box from getting crushed in a backpack and makes lunch faster to unpack later.
-
Line up the tools before you start. Set out the lunchbox, one ice pack, one sandwich or main item, one fruit, one snack, napkins, and a water bottle. When everything is visible, it is easier to notice if the lunch is missing a lid, a spoon, or a backup snack.
-
Put the cold source in first. Place the ice pack along one inside wall or on top of the main container, depending on the shape of the bag. A standard reusable ice pack should sit flush, not wobble around. If the bag is very empty, add a second smaller cold pack or fill space with a cloth napkin so the food does not slide.
-
Pack the main food in a leakproof container. A sandwich can go in parchment, then into a rigid box, or straight into a sandwich container. For saucy foods, use a container with a snapping lid and a silicone seal. The result should be a lunchbox that stays flat when tilted, not one that leaves dressing or juice in the corners.
-
Separate wet from dry foods. Put fruit in its own container if it could leak, and keep crackers or chips away from anything moist. A single divided container can work, but only if the lid truly seals each section. Done well, the crackers stay crisp and the sandwich does not turn damp.
-
Add the easiest-to-eat items where the child sees them first. Place the snack, napkin, and utensil on top. If the child has 10 minutes between stops, the top layer should be the part they can open quickly. That saves time and reduces the chance the child skips food because it looks too complicated.
-
Close the lunchbox and test the fit. Zip or latch it, then lift it by the handle for a second. If anything shifts hard inside, the bag is too loose. Tuck in a small cloth napkin, a folded placemat, or a second container so the contents stay snug during the bus ride.
Packed this way, a field trip lunchbox is easier for a child to manage independently. It also lowers the chance that a teacher has to clean up a crushed banana or leaking yogurt in a moving bus seat.
How to handle no-refrigeration outings without making the lunch fussy
No-refrigeration outings demand the most disciplined packing, because the lunch must stay edible without access to a fridge, cafeteria cooler, or classroom shelf. That is the moment to choose foods that are naturally more stable and to limit anything that depends on staying cold for safety or texture.
For a museum, zoo, botanical garden, or walking tour, I would lean on shelf-stable building blocks: a sandwich with a modest amount of filling, whole fruit, dry snacks, and water. If the school says lunch will sit in a bus for several hours before the group stops, avoid packing foods that are especially temperature-sensitive unless the lunchbox has reliable insulation and the food will be eaten soon after arrival. Even then, the safer approach is usually to keep the food cold from the start, if that is practical.
Disposable containers can help on field trips, but they come with trade-offs. A disposable bag or box is lighter and easier to leave behind if the teacher requests that all trash go out with the group. It also removes the risk of a child forgetting to bring home a reusable container. The downside is weaker insulation and more waste. If you use disposable containers, put them inside an insulated lunch bag rather than relying on the disposable box alone. See also school lunch packing tips and best leakproof lunch containers.
For messy foods, a disposable approach can actually make sense. A paper sandwich wrap or compostable tray can keep the lunch tidy for a short outing. The problem is moisture: paper gets soft, and thin lids pop open if they are crushed. If the route includes a long bus ride, a crowded bus seat, or a backpack on the floor, rigid containers are still the safer bet.
One useful rule: if a food must stay cold to stay appealing, it belongs in the cold section; if it can handle a warm lunch without trouble, it can take the room-temperature side. That distinction is the difference between a lunch that survives a zoo day and one that arrives soggy or questionable.
What food safety rules matter on excursions?
Food safety on excursions means keeping perishable food cold, limiting how long it sits out, and packing enough protection that the lunch survives until the child opens it. That is the part of field trip packing that gets ignored most often, usually because the lunch looks fine in the morning and the actual eating time is hours away.
For cold food, use an insulated lunch bag plus a frozen or well-chilled ice pack. Pack the ice pack directly against the items that need the most help, such as yogurt, cheese, deli meat, milk, or cut fruit. If the outing is warm or the lunch will sit in a bus, add a second ice pack if the lunch bag has room. A lunchbox that starts cold is more likely to stay cold than one assembled at the last minute with room-temperature ingredients.
Hot food is tougher on field trips. A thermos can work for a warm item, but only if the food is heated safely before departure and the thermos is preheated with hot water first. If that sounds like too much work on a school morning, it probably is. A cold lunch is the better choice for most field trips. For more on safe holding temperatures, see FDA Food Code and USDA Leftovers and Food Safety.
The food-safety trade-off is plain: the more time the lunch spends unrefrigerated, the simpler the menu should be. So a field trip lunchbox should not be treated like a home lunch that can wait on the kitchen counter. The outing changes the rules.
This is also where the lunchbox can fail in small ways. A cracked ice pack, a lid that does not seal, or a lunch left open while the child gets ready can undo the rest of the packing work. The fix is boring but effective: close the lunch until it is time to eat, and use containers that do not rely on hope.
If the child has a food allergy or a medical condition that changes what can be packed, check the school’s instructions and, if needed, ask a healthcare professional or school nurse about safe substitutions.
Common mistakes that ruin a field trip lunchbox
Overpacking is the most common mistake, and it usually costs the child time, space, and appetite. A bag stuffed full of five snacks, two drinks, and a dessert can be harder to open on a bus seat than a tidy lunch with one main item and two sides. The fix is to pack one of each category, not a buffet.
Another mistake is choosing foods that need a fork, a cutting knife, or a lot of cleanup. Yogurt with loose granola, slippery pasta salad, and crumbly wraps can all work at a kitchen table and fail in a parking lot or museum courtyard. If a food takes more than one tool, ask whether the child will really use it in under 10 minutes.
A third mistake is leaving the ice pack loose in the bag. That sounds harmless, but a loose ice pack can slide away from the food or sit against one item and not the rest. Place it where it can do the most work, then pack the lunch snugly around it.
A fourth mistake is using containers that look leakproof but are not. A lid that snaps on loosely may hold grapes but fail with dressing, peaches, or melted ice from a warm bottle. If the container has a silicone gasket or a tight screw-top lid, that is usually the safer choice for field trip food.
The final mistake is forgetting that a child has to manage the lunch independently. A perfect lunch is useless if the child cannot open the clasp, peel the wrapper, or tell which container holds the sandwich. Keep the package simple enough for small hands, tired hands, and rushed breaks.
A simple packing plan for museums and zoos
For museums and zoos, pack a lunch that is compact, quiet, and easy to eat without a table. That usually means a soft insulated lunch bag, a sandwich, one fruit, one dry snack, and a water bottle, with the most fragile items protected in hard-sided containers.
These outings create two practical problems: limited seating and unpredictable timing. A zoo day may include longer walking intervals between breaks, while a museum day may involve waiting for the class to gather before everyone eats. The lunch should not depend on being perfectly timed. It should still taste fine after a few hours, and it should not crumble if the child carries it from one stop to another.
Keep noisy packaging to a minimum. Loud chip bags, tricky twist tops, and brittle crackers are not ideal in a quiet gallery or on a tram. A reusable container with a hinge lid or a small zipper pouch is less disruptive. If you need disposable containers for a one-way trip home, choose ones that open cleanly and do not shed bits of plastic or foil.
For a long zoo walk, include a little more food than usual, but not an extra-large lunch. A second fruit or a second snack is enough for many children. For a museum trip with a fixed lunch period, keep the meal more compact and easy to finish quickly. The right lunchbox is one that matches the setting, not one that ignores it.
If you want a single rule to remember, use this: pack the lunch for the place where the child will eat, not for the kitchen where you assembled it. A field trip lunchbox that works in a classroom may be too bulky, too noisy, or too fragile for a day spent away from it.
What should I pack for a school field trip lunch?
Pack one main food, one fruit, one snack, and a water bottle. That mix is easy to finish during a short break and simple to carry in an insulated lunch bag. A sandwich, apple slices, pretzels, and water is a strong default. If your child dislikes sandwiches, use crackers with cheese or another cold food that travels well.
How do I keep lunch safe during a long outing?
Keep cold foods in an insulated lunch bag with an ice pack and pack the lunch so it stays closed until eating time. The longer the outing, the more important it is to start with cold ingredients and leakproof containers. For a long zoo, museum, or bus day, avoid complicated foods that depend on perfect timing or room-temperature storage.
Drafted with AI; not yet reviewed by a person.