Last updated: October 22, 2026
Quick Answer: In about 5 minutes, you can reset and repack a kids lunchbox after school by emptying it, washing the food-contact parts, drying everything fully, and setting it back out for tomorrow.
Key Takeaways
- Warm water is enough for most daily lunchbox resets.
- Empty, wash, dry, and reassemble the lunchbox before bedtime.
- Food-touching parts need daily cleaning; the outer shell often only needs a wipe.
- Open every piece and let air reach it for hours.
A sticky container on a Tuesday night can throw off the whole next morning. That is the trade-off here: a few minutes now, or a rushed scramble before school. An after-school lunchbox reset keeps tomorrow calm for How to Reset and Repack a Kids Lunchbox After School. Empty the box, wash or wipe the pieces that need attention, dry everything, and put it back together for the next day. If it comes home with a damp ice pack, a sticky lunch container, or a forgotten apple core, this routine stops the mess from rolling forward.
What you need before you start
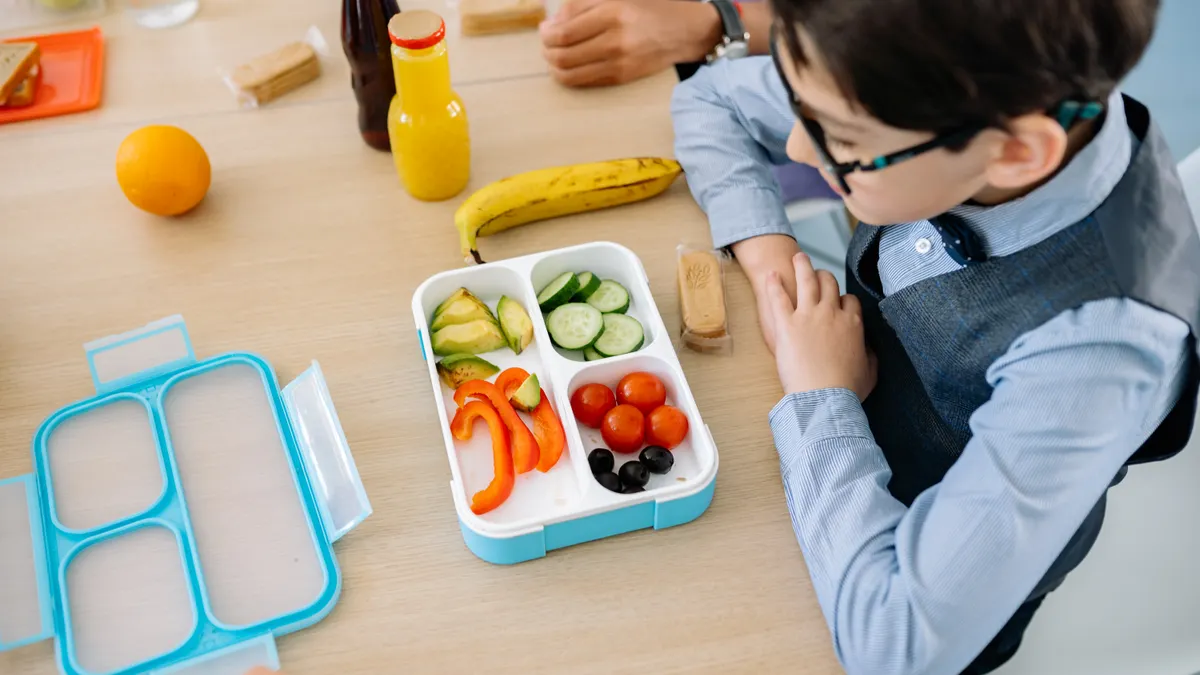
Grab the lunchbox, any lunch containers, dish soap, a clean sponge or cloth, a drying rack, and a fresh ice pack if the old one needs to go back in the freezer. For most daily resets, a sink with warm water does the job.
Keep the process plain and quick. A full deep clean every afternoon is overkill; what you want is a same-day reset that leaves the lunchbox dry, odor-free, and ready for repacking. Stainless steel insert? Bento tray? Leakproof plastic containers? Pull those pieces out first so crumbs and liquid do not hide in corners. For more cleanup basics, see the how to clean lunch containers guide and lunchbox organization tips.
A lunchbox that comes home full of wet food, a yogurt smear, or a busted bag of snacks needs a little triage. Start with paper towel or compostable scraps first; that keeps the sink from clogging and makes the wash easier. Visible mold, a strong sour smell, or spoiled food changes the script — do not just wipe around it. Empty and wash every part that touched the food. If the smell or mold keeps coming back, consult a professional cleaner or the manufacturer’s care guidance.
How do you clean a kids lunchbox after school?
Empty it, wash the food-contact parts with dish soap, dry everything fully, and put it back together before bedtime. That is the whole reset. It works best in one spot every day, usually the kitchen sink or a counter near the trash. In Consumer Reports testing, washing and drying are the basic steps that matter most for kitchenware hygiene.
-
Open the lunchbox and remove every item. Take out lunch containers, napkins, ice packs, utensils, and any reusable cloth wrap. You should be looking at an empty shell, not a half-cleared box with crumbs in the corners.
-
Throw away or save leftover food right away. Tip out fruit skins, crusts, and loose crumbs into the trash or compost. If there is unopened food that can be reused safely, set it aside in its original packaging. The lunchbox should be free of loose scraps before it gets wet.
-
Separate what needs washing from what only needs wiping. Plastic containers, lids, and a lunchbox liner usually need dish soap and water; an insulated outer shell may only need a damp cloth unless food leaked inside. When this step works, the grime gets broken into small jobs instead of one big scrub. Much easier on the wrists.
-
Wash the food-contact parts with warm water and dish soap. Use a sponge or cloth on every surface that touched food, including lid edges, corners, and seals. Pay attention to seams where juice and crumbs hide. A rinsed surface should feel smooth, not sticky or slippery.
-
Rinse and inspect for residue. Hold each piece under running water or wipe it with a clean damp cloth until no soap or food film remains. If orange sauce, milk, or dried jam is still visible, wash that spot again before moving on.
-
Put everything on a drying rack. Stand containers, lids, and lunchbox parts open so air can move around them. A drying rack beats a flat pile of towels because trapped water leads to smells. The parts are ready when you can touch them and find no damp spots in seams or corners.
-
Return only fully dry items to the lunchbox. Put the empty, dry containers back in the lunchbox and close it loosely if needed. If the ice pack belongs in the freezer, place it there now so it is cold tomorrow. A packed-but-dry lunchbox tells you the reset is done.
This routine handles most school days. Soup, smoothie, or yogurt leaked? Wash the fabric or insulated liner too, if the care label allows it. If the liner cannot be soaked, wipe it with dish soap solution and let it air-dry open. The CDC advises cleaning surfaces and tools after contact with food spills, especially when moisture has sat for a while.
Which parts need daily cleaning and which do not?
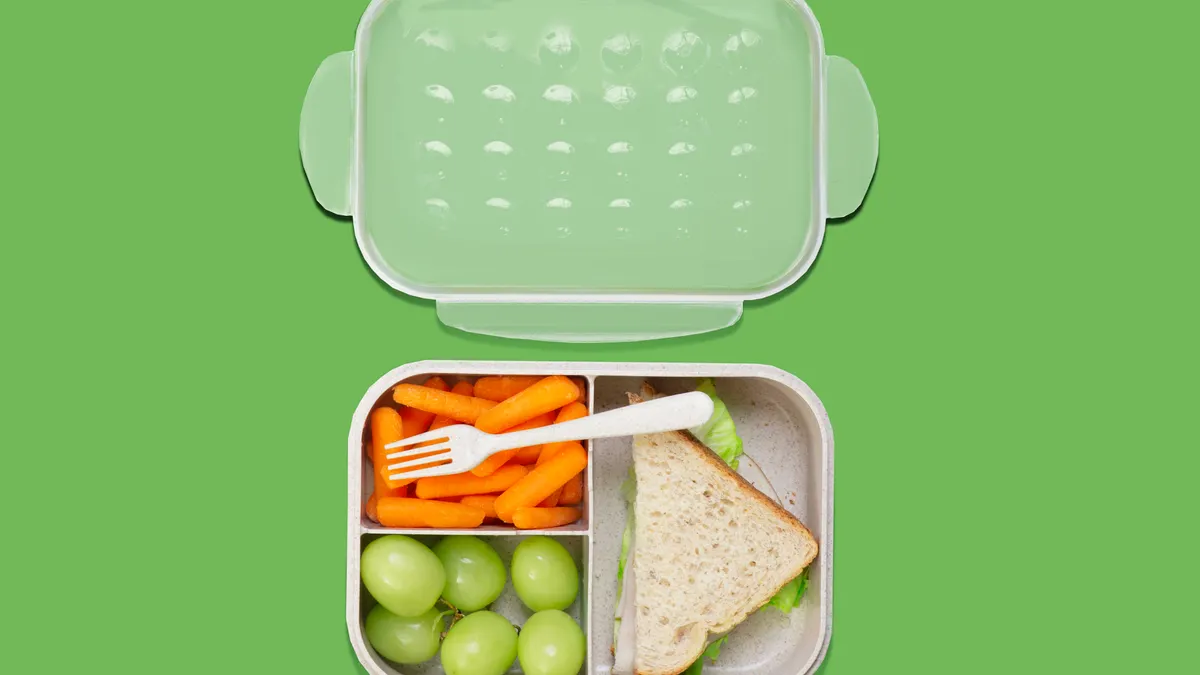
Food-contact parts need daily cleaning, while the outer shell often only needs a wipe unless something spilled inside. That split saves time without leaving yesterday’s crumbs behind.
Wash every lunch container that held food or drink. That includes removable lids, silicone seals, and divider trays. If a container held tuna, yogurt, egg salad, or sauce, do not leave it until the next day; the smell can settle into the lid gasket and the lunchbox itself. It clings like glue.
Wipe the outside of the lunchbox daily if it touched counters, backpacks, or bus seats. For most exteriors, a cloth with warm water and a drop of dish soap is enough. Let the surface dry before it goes back in the cabinet or by the door.
The ice pack needs attention too. If condensation collected on it, wipe it dry before freezing it again. A wet ice pack can make the lunchbox damp overnight, which slows drying and can leave a stale smell by morning.
What usually does not need a full wash every day is the backpack pocket, unless food leaked there. That job can wait for a deeper clean, as long as the lunchbox itself is reset tonight. For storage and food safety basics, the USDA recommends keeping cold foods cold and cleaning contact surfaces after use.
How do you dry the lunchbox so it does not smell?
Open every piece, keep it separated, and let air reach all sides for at least a few hours. Drying is what stops the sour, closed-up smell that can show up when a lunchbox is packed while still damp.
Start with the lid off. Put containers, lids, and seals on a drying rack instead of a towel pile. A towel can trap water underneath the rim or inside a latch. If the lunchbox has a fabric insert or insulated lining, leave it open wide so the air can move through it.
Turn pieces upside down only if they can still breathe. A container upside down on a rack is fine when the opening is not sealed against the surface. If a lid has a silicone gasket, lift the gasket slightly if the design allows it so the groove can dry.
Need to pack fast tomorrow? A clean tea towel can remove the last visible drops, but do not skip air-drying entirely. The box should feel dry at the seams, corners, zipper pulls, and strap stitching. Those are the places where moisture hides longest.
This is the part people rush, and it bites back. A lunchbox that goes back together damp can smell stale by the next morning even if it looks clean. If the odor keeps returning after drying, check the manufacturer’s care instructions or consult a cleaning professional.
How to repack the lunchbox for tomorrow without rushing
Repack the lunchbox after it is dry, with the same containers and ice pack you plan to use tomorrow morning. That keeps the morning routine short and avoids a last-minute search for lids, forks, or a cold pack.
Put the clean, dry lunch containers back into the lunchbox first. Close each container the way it will be closed tomorrow so you can see whether a lid is cracked, warped, or hard to latch. If the lunchbox uses a hard plastic insert, slide it back in flat and check that it sits correctly.
Add the ice pack only if your packing routine uses one and the pack is fully frozen again. If it is still soft, leave it out of the lunchbox and place it in the freezer instead. A half-frozen ice pack is a sign to choose a fresh one or wait until morning.
If you like to prep tomorrow’s lunch in the evening, place the cleaned containers on the counter with dry labels or notes inside, not food. That way, you can see at a glance what needs to be filled in the morning. It is a small step, but it keeps breakfast-time clutter down.
Do not pack food into a lunchbox that is still warm from washing. Heat and trapped moisture make the inside feel clammy, and that is when smells build up. A dry, assembled lunchbox is the target; a warm one is not.
Common mistakes that make the reset harder
Leaving crumbs in the lunchbox costs you more time the next day because they stick to damp seams and turn into residue. Shake out loose scraps before washing so the sink and sponge stay cleaner.
Packing the lunchbox while it is still wet causes odor and can leave the inside tacky by morning. If you are short on time, dry the parts with a cloth and leave the lunchbox open overnight on the rack.
Forgetting the gasket or lid edge is another common miss. That one small ring can hold sauce, milk, or sticky fruit juice, and the smell comes back fast. Run a finger around the edge after washing; if it feels smooth, it is clean.
Using too much soap leaves film on plastic containers and makes them look cloudy. A small amount of dish soap is enough. Rinse until the surface no longer feels slippery.
Stuffing the lunchbox back into a backpack before it is fully dry traps moisture and blocks airflow. If the bag has to be packed away, leave the lunchbox open on the counter instead of sealing it shut.
If a container is stained but clean, that is usually cosmetic. If it still smells after washing and drying, repeat the wash and let it air out longer before you store it with the rest of the lunch gear. For stubborn smells, the USDA and CDC both recommend thorough washing, rinsing, and full drying.
A quick end-of-day checklist for tomorrow morning
The end-of-day checklist is simple: empty, wash, dry, and stage the lunchbox before bed. That four-part reset means the next morning starts with clean containers and no scavenger hunt for missing parts.
Use this as the last 5-minute sweep of the kitchen:
- Food thrown out or saved
- Containers washed with dish soap
- Lids, seals, and utensils dry
- Lunchbox shell wiped if needed
- Ice pack back in the freezer
- Repacked lunchbox ready by the door or fridge
If you want a deeper planning system for what goes inside the lunchbox, that belongs with the broader lunchbox timing and freshness guide. This page is only the reset that comes after school. For related routines, see kids lunchbox packing ideas and safe lunch storage tips.
A good reset does not need special products or a long routine. It needs the same steps every day, plus enough drying time that the lunchbox starts tomorrow clean, closed, and dry.
What should I clean every day?
Clean every part that touched food or drink every day. That means lunch containers, lids, seals, utensils, and any insert that held snacks, sauce, yogurt, or fruit. Wipe the lunchbox exterior if it picked up dirt or spills. The outer shell can sometimes wait for a deeper clean, but the pieces that touched food should not.
Can I repack the lunchbox right after school?
Yes, if everything is dry and the lunchbox has been emptied and washed first. Repacking right after school is a good habit because it gives the pieces time to air-dry before morning. If anything is still damp, leave it open on a drying rack until the moisture is gone.
How do I stop lunchbox smells?
Stop lunchbox smells by removing food scraps quickly, washing seams and seals with dish soap, and letting every part dry fully open. Smell usually comes from trapped moisture or tiny bits of food in corners. If a smell lingers, wash the lid edge again and leave the lunchbox open overnight.
Drafted with AI; not yet reviewed by a person.